



View all news
3-axis galvanometer stations
All our machines 3-axis CO2 laser
Advantages of our 3-axis CO2 laser engravers
3-axis CO2 lasers represent a new generation of marking and engraving solutions, designed to combine speed, precision, and flexibility in the most demanding production environments.
Where 2-axis systems reach their limits, 3-axis dynamic optics ensure perfect beam homogeneity over large surfaces while allowing precise control of the focal depth.
These systems guarantee:
– fast and consistent marking, including in series thanks to the use of jigs,
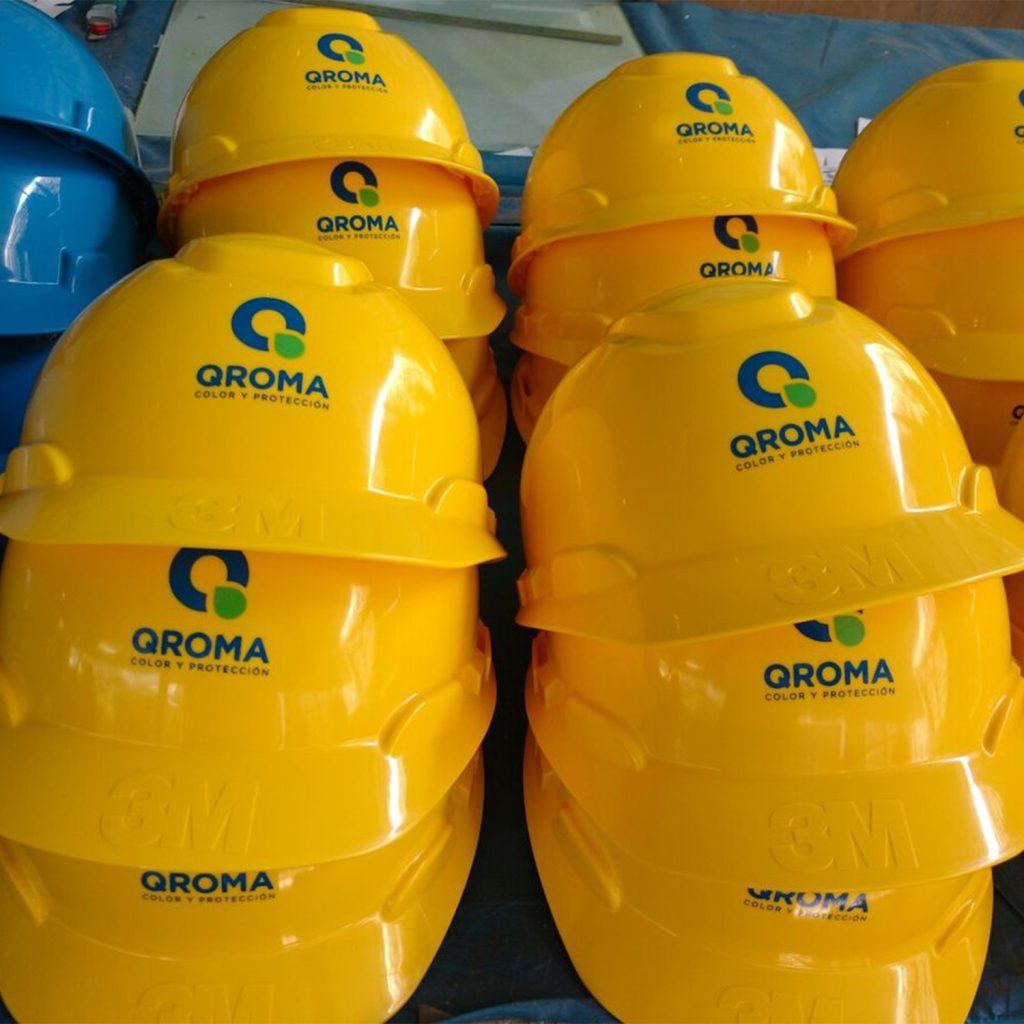
– the ability to customize entire batches of parts or promotional items in a single pass,
– a uniform and durable rendering quality, even on irregular or slightly curved surfaces,
– great versatility of application: wood, wood derivatives, plastics, paper, technical textiles, glass, and other organic materials.
Combining productivity and reliability, 3-axis CO2 lasers offer industrial users the ability to save time, increase their output, and enhance their products with sharp, uniform, and durable marking.
Our range of 3-axis CO2 laser machines
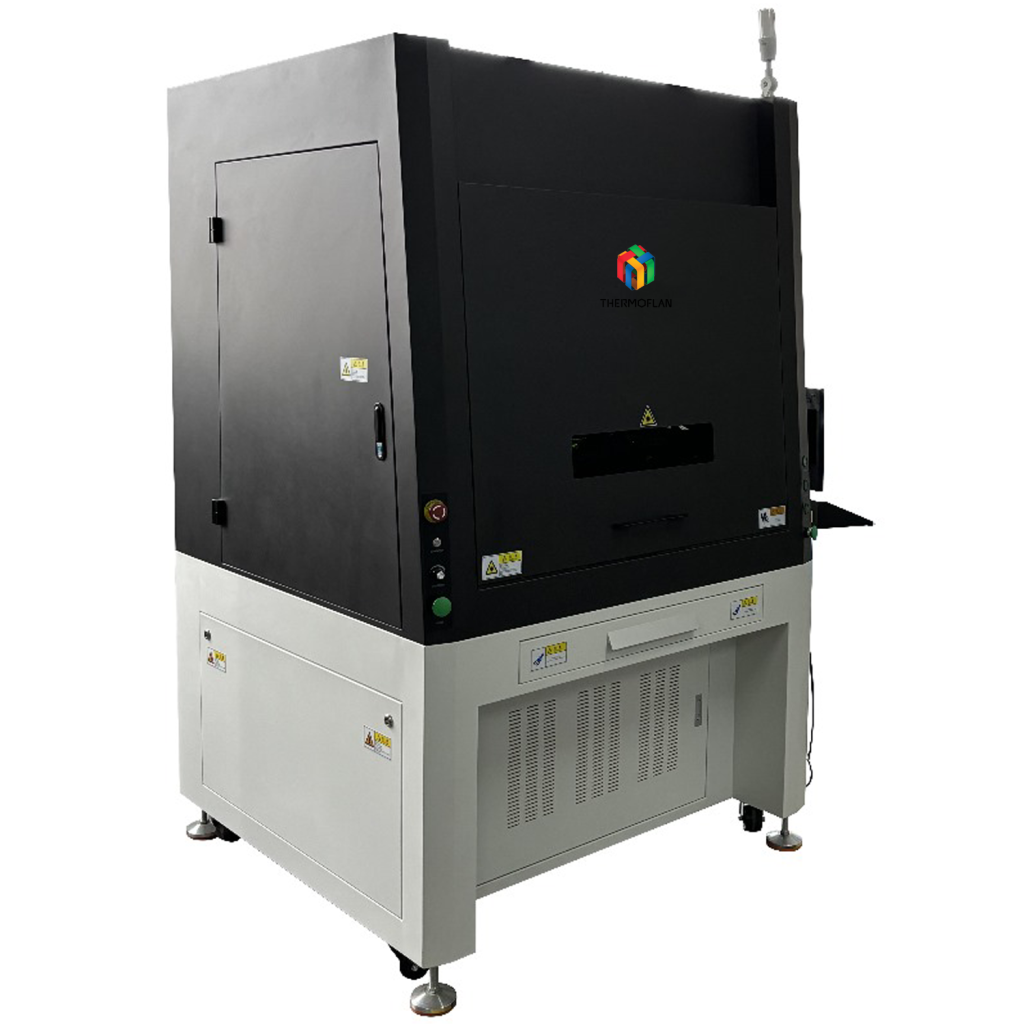
How does a 3-axis CO2 laser work?
The steps for 3-axis galvanometer station CO2 laser engraving:
Creation of the graphic file
- Design of the drawing or pattern using CAD/CAM software included with the machine or by importing from another program (AutoCAD, Illustrator, CorelDraw, Inkscape, etc.). The file can be vector (for precise tracing) or bitmap (images to be engraved)
Engraving settings
- Selection of the job type: engraving (marking) or cutting
- Adjustment of parameters according to the material (laser power, speed, resolution)
- Definition of the work area and positioning of the starting point
Positioning the material on the table
- Placement and securing of the material to be engraved or cut (wood, acrylic, leather, etc.)
Calibration and positioning test
- Performing a “frame test” to verify that the path fits within the desired area
- Adjusting the starting point position if necessary
Starting the engraving
- Laser activation
- The laser focal distance will be set based on the material thickness. If the material is not flat, the laser will adjust automatically by moving the 3rd axis optics.
- The galvanometer head rapidly moves the beam according to the design, modulating the laser power to engrave the material
End of engraving
- Automatic or manual machine stop
- Removal of the engraved material
Cleaning and finishing
- Removal of engraving residues (dust, ash)
- Optional manual finishing (dusting, polishing)
Laser marking

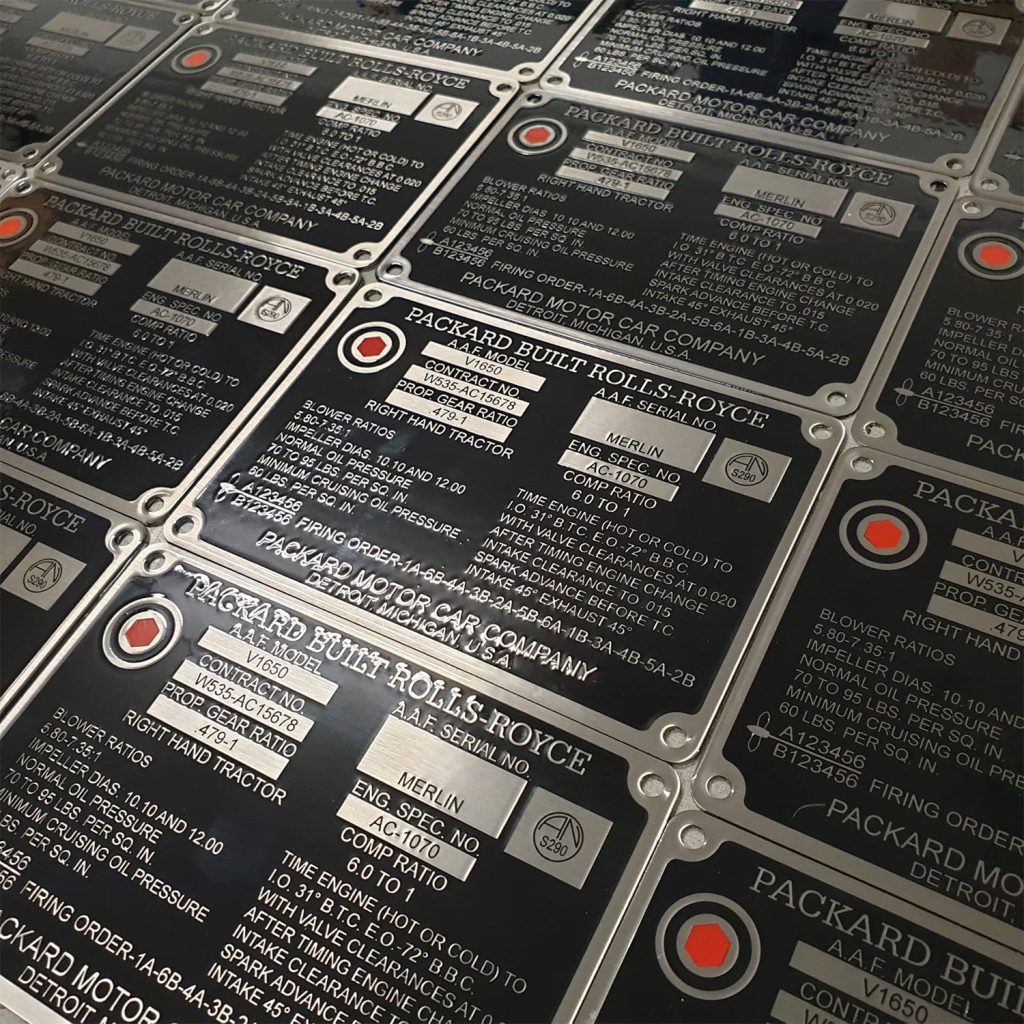
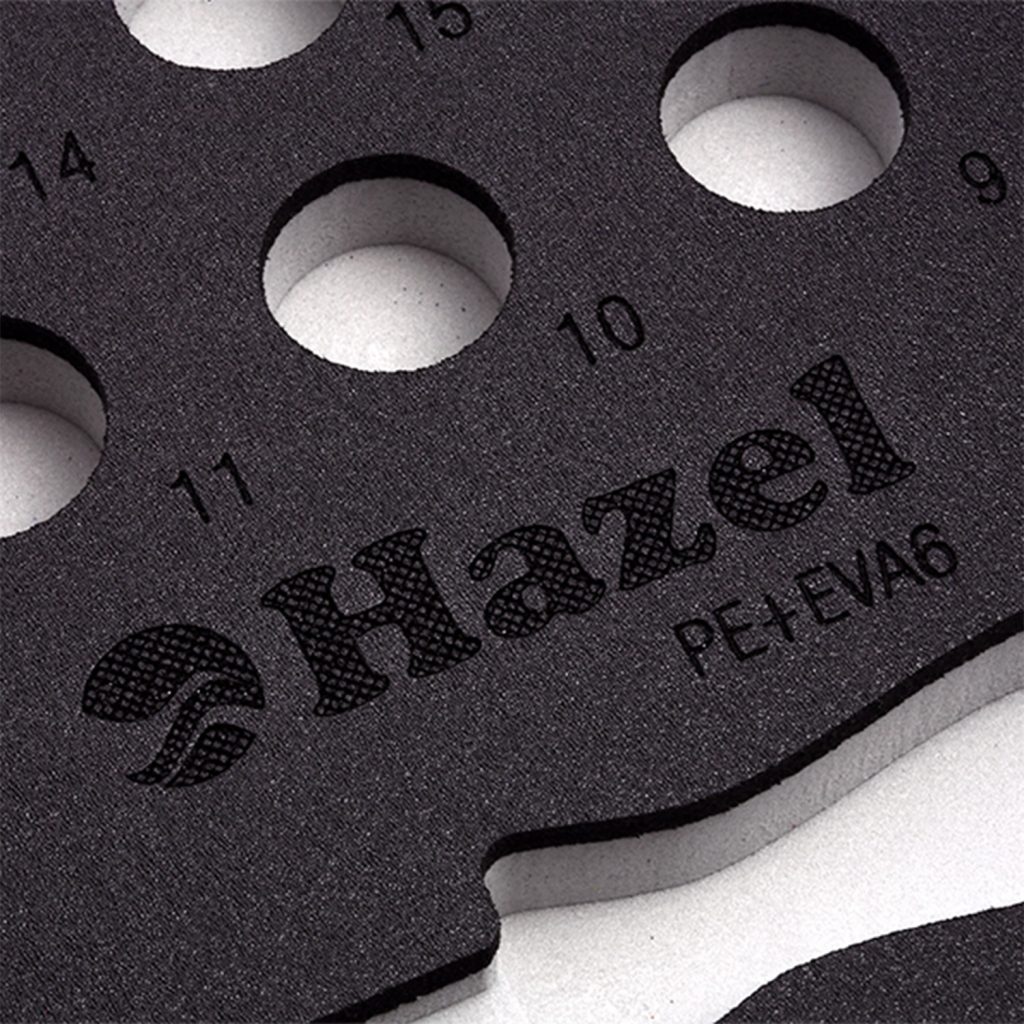
This technique consists of burning the surface of the material, causing carbonization that creates a visual contrast between the original color and the one obtained after marking. This method is often used to ensure part traceability, increment serial numbers, or add references.
Laser engraving

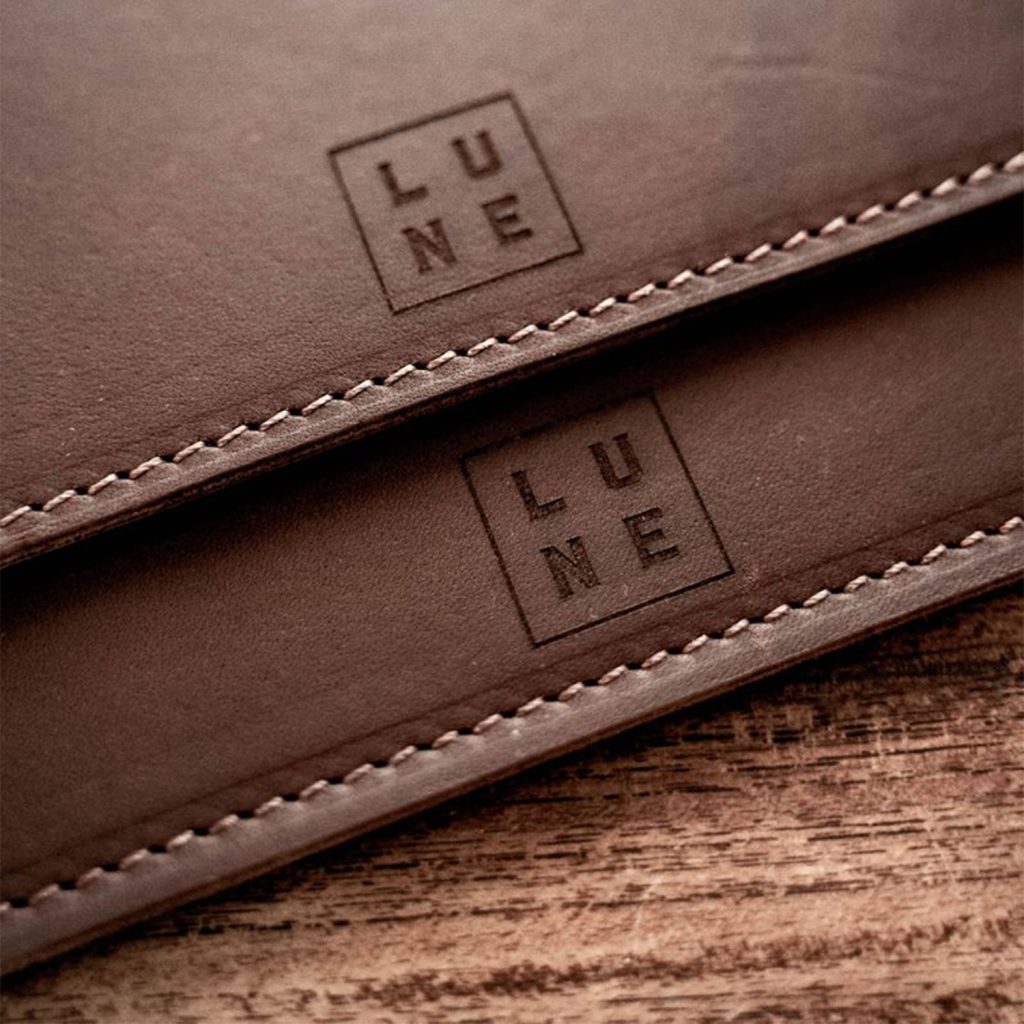
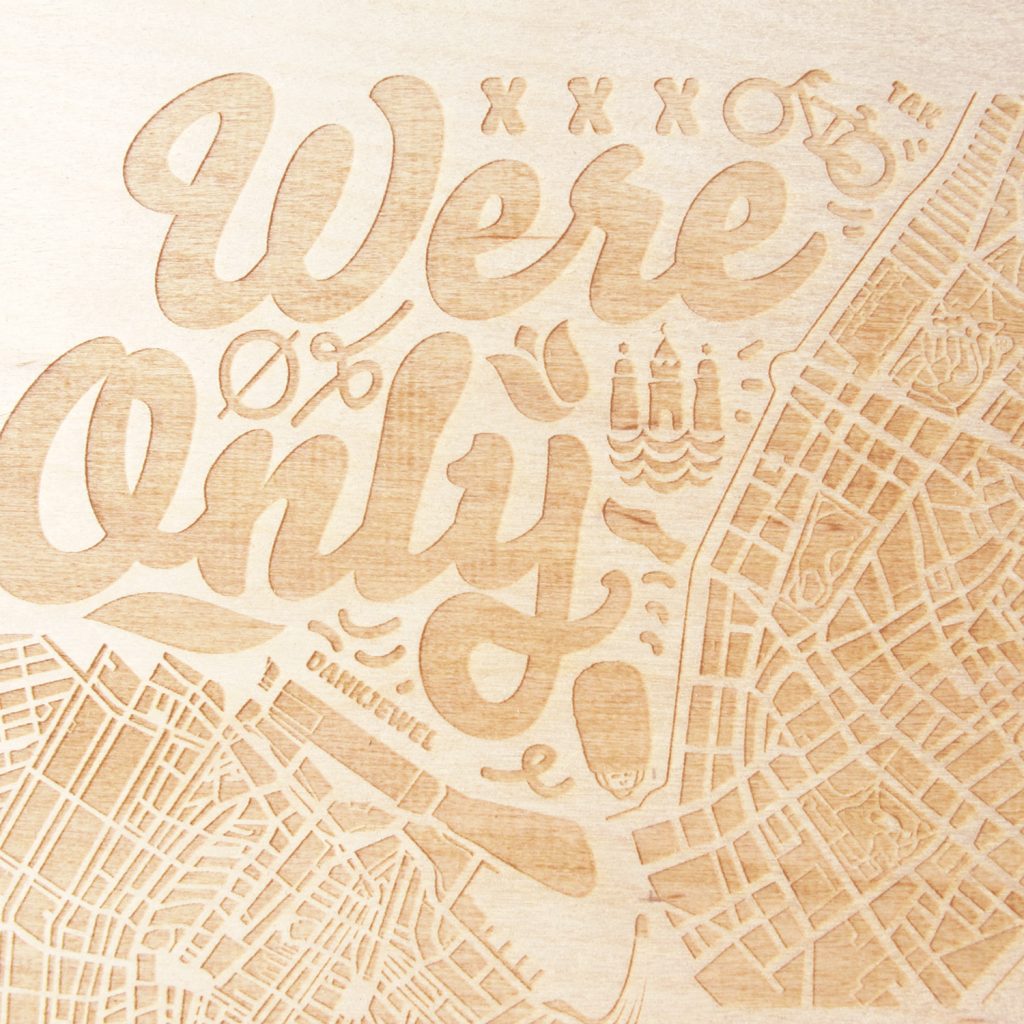
In this process, the laser carves into the surface of the material, removing a thin layer to form a pattern. This allows for detailed engravings on plates or other surfaces, offering precise and durable personalization.
Laser cutting

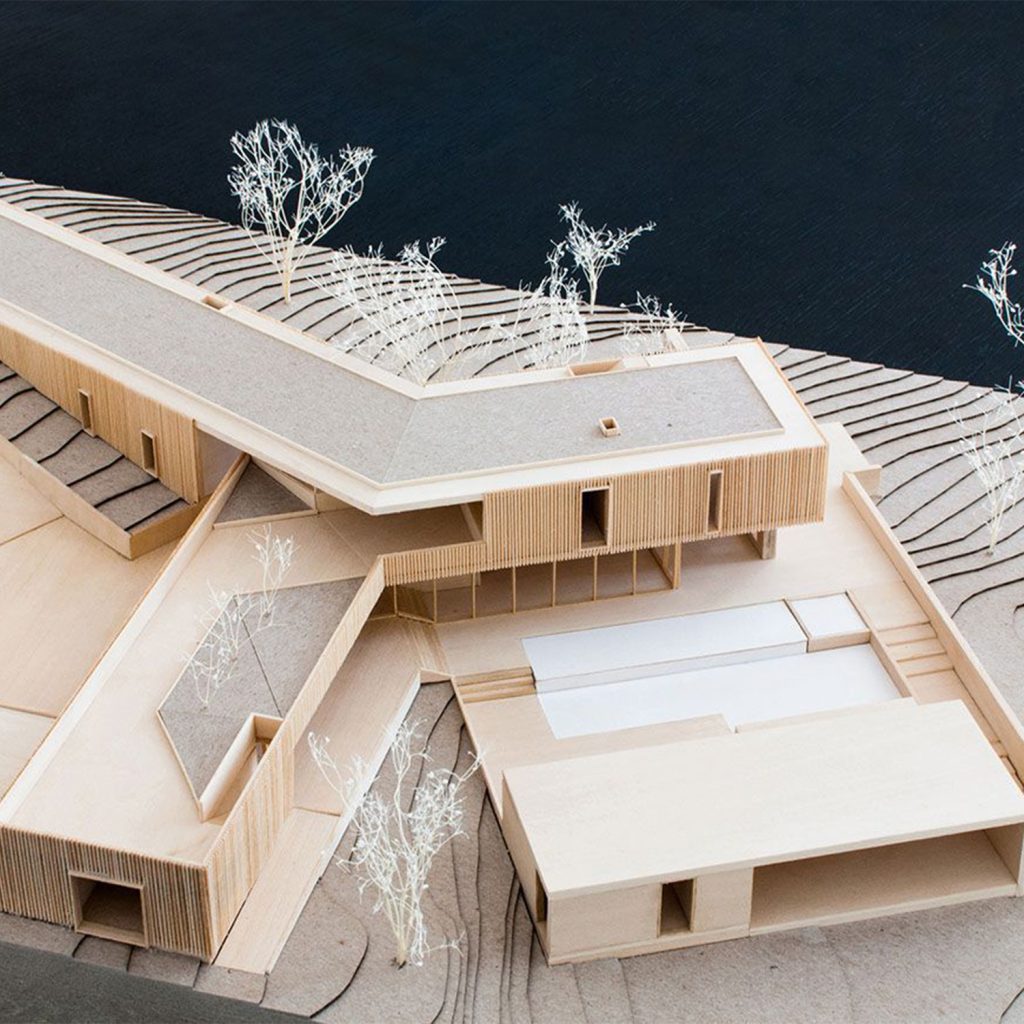
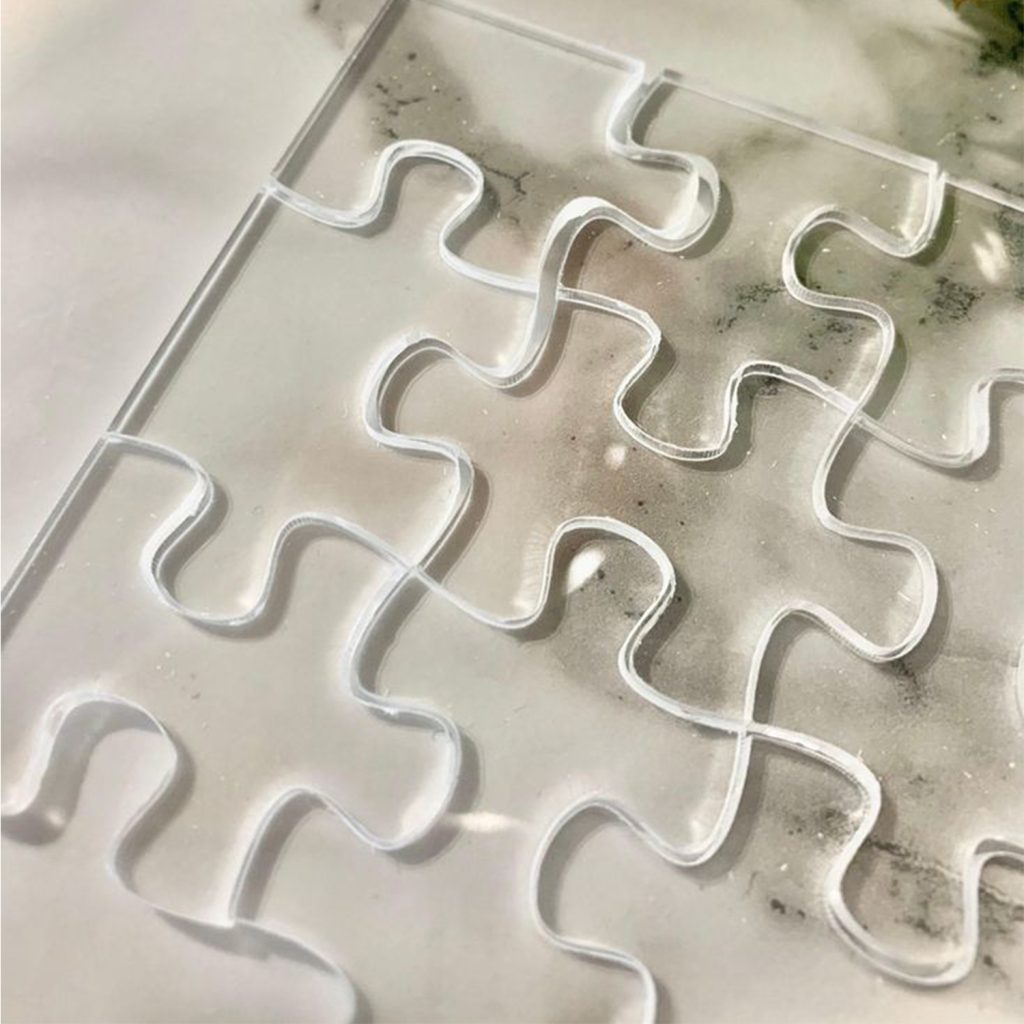
Laser cutting involves completely piercing the material with a very fine laser beam (about 100 microns). This technique offers high precision and superior cutting quality for various applications such as model making, cutting gaskets, or paper for invitations….